I have purchased three car spray paint cans from
Halfords as these metallic tones are
unavailable in the University spray room. The most difficult decision was deciding which white to purchase, as the colours are sorted by make of car and I had to find the exact level of metallic sheen I was after. In case I run out of white primer at university, I have also brought back some white radiator paint to cover the grey car body filler before painting metallic white. In addition to the greenish paint colour, I have
acquired some
Hammerite to
experiment with different, lass polished finishes to the shoulder pieces. By painting on the H
ammerite before spraying, I hope to achieve a stone, cracked effect in the paint's surface.
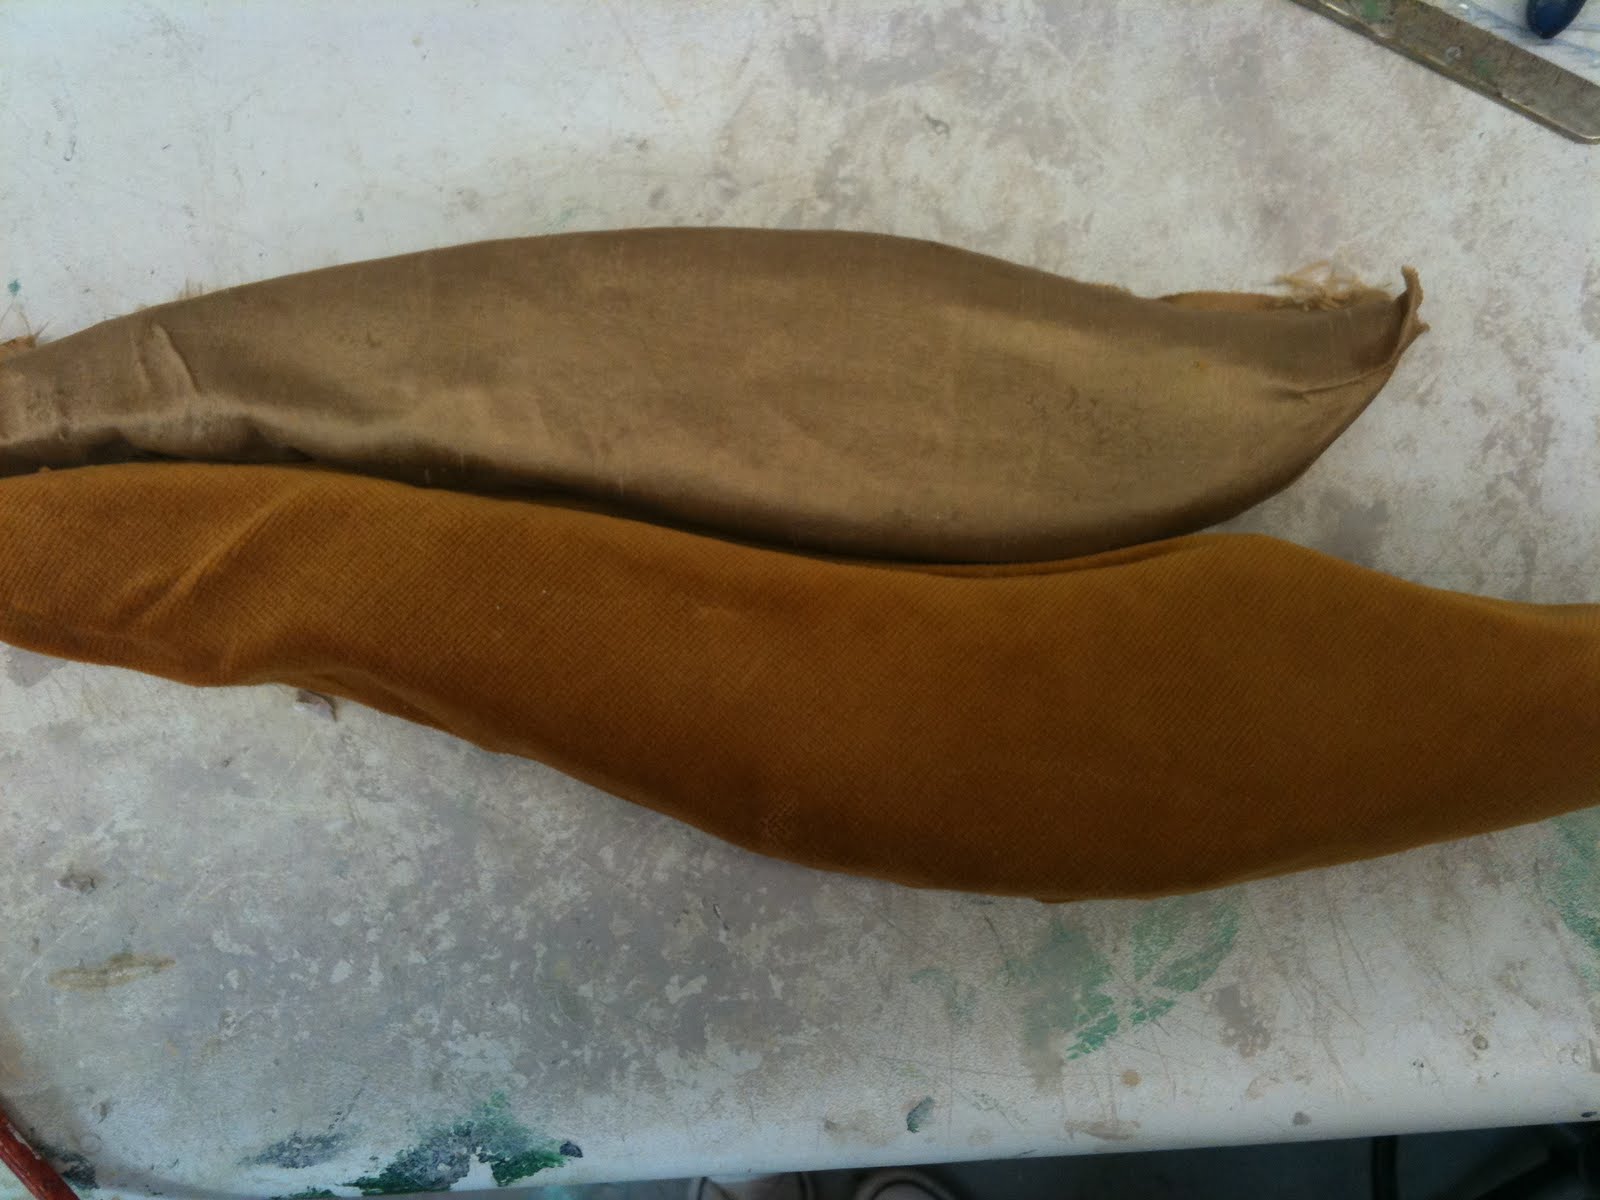
The gold fabrics are offcuts from a fabric shop in C
roydon. I was unsure which gold I
preferred so I will test how each looks over the foam sections that will make up the wings. It may also be a good idea to see how each material takes to a spray painted strip of black detail.

 Cellulose paint finish, PVA (top) and plaster (bottom)
  Plaster, (left) and PVA (right)


 Despite my best efforts, the masking tape did leave some sticky residue on the white paint finish. Most of this was
  Once I was content with the green areas, I could then begin to mask off these large areas, leaving the raised detailing exposed for painting.
 Masking these lines proved tricky due to the
  The black cellulose paint is
  This image shows the intricate masking off of the front detail, to be sprayed black. The masking tape is slightly
  I have covered all the foam pieces as neatly as possible, using scrap material to cover gaps where the seam does not match up. As each piece has been covered, it is difficult to see the order in which they will need assembling.
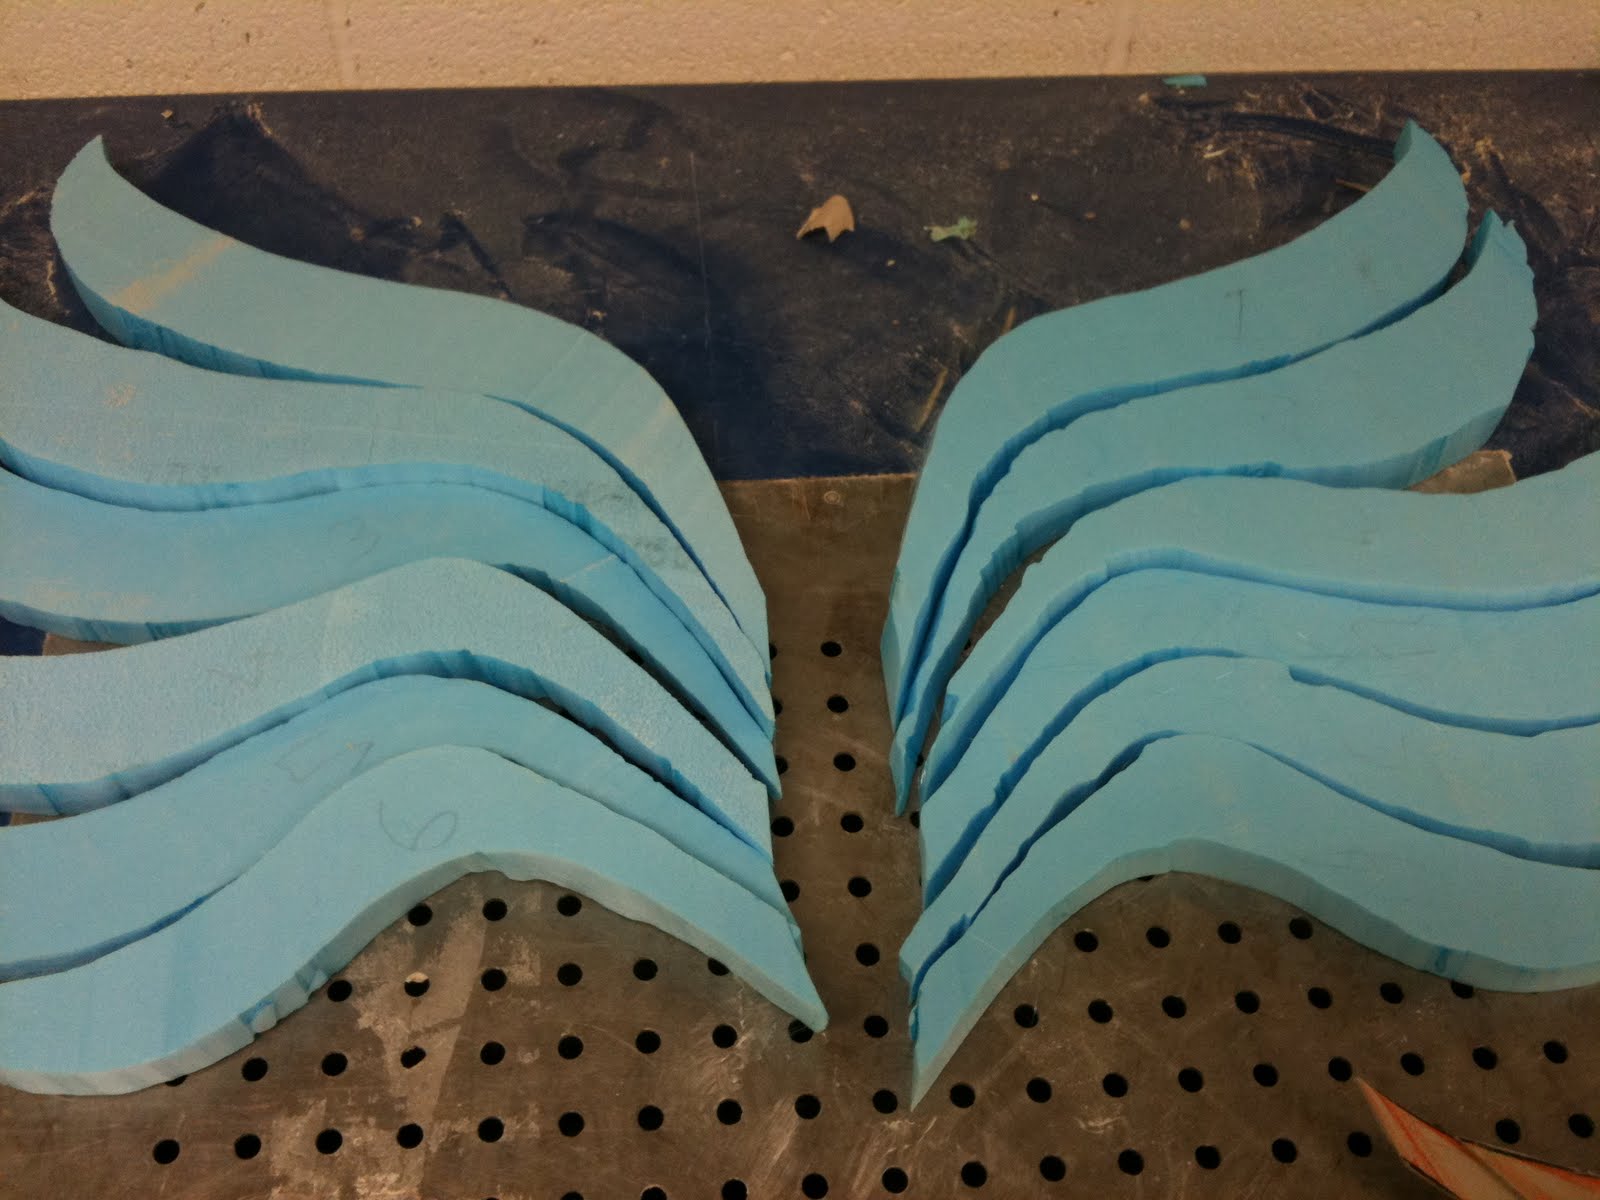
 The sprayed layer of blue paint has been repeatedly sanded back to reveal the texture of the green